Playbook8 min readSeptember 21, 2026
Ten changes that move an apparel product page.
Most product-page advice is written for gadgets. Clothing has a different problem: the shopper is not sure it will fit or suit them. Ten changes ranked by how much of that doubt each removes, with the ones that look important and are not.
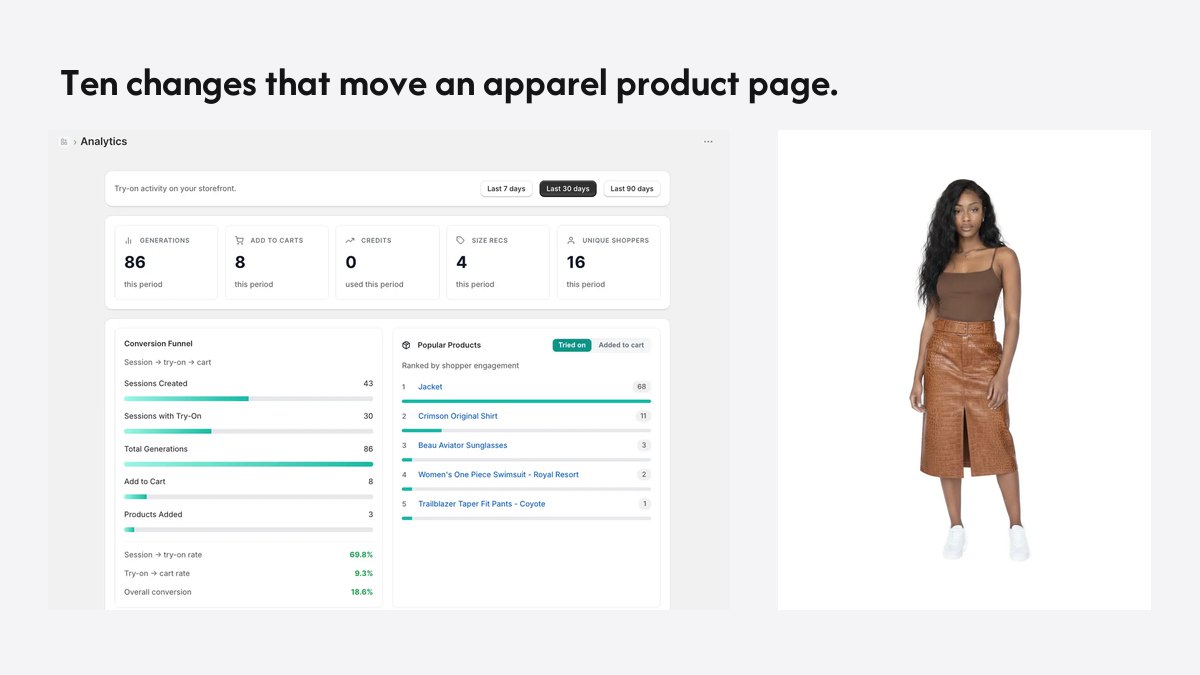
Product-page optimisation guides tend to be written for products that do not have a size. Faster pages, sharper copy, urgency, badges. Some of it helps clothing. None of it addresses why an apparel page loses the sale: the shopper cannot tell whether the piece will fit or suit them. This list is ordered by how much of that doubt each change removes.
1. Show the shopper in the garment
Nothing else on the page answers “how will this look on me”. A try-on that renders the shopper wearing the product, front and back, from one photo, does. It belongs above the fold on any product where the look depends on the body: dresses, tailoring, knitwear, outerwear. On Shopify it is a one-afternoon install.
2. Tell them the size
A size chart asks the shopper to do the work. A recommendation does it for them: chest, waist and inseam matched to the garment’s chart, returned as “order a medium, this runs true to size”. This is the change that touches the largest single reason for returns. It also removes the bracketing order, two sizes with one coming back, that inflates conversion and destroys margin.
3. Put the model’s height and size next to the photo
“Model is 178 cm and wears a size S.” One line, an hour to add across a catalogue, and it is the most-read sentence on many product pages. Without it, the model photo is a picture of the garment on nobody in particular.
4. Write fit notes that say something
“True to size” is not a fit note; it is a shrug. A real one says where the garment sits, how it stretches, whether the shoulders are dropped, and what to order if between sizes. Write it per style, not per brand. Your returns data tells you which products need it: the ones where “too small” and “too big” both appear.
5. Put garment measurements in the chart, not only body measurements
A body chart says a size M fits a 96 cm chest. A garment chart says the M measures 104 cm across the chest. The second lets a shopper compare with a piece they own, which is how most people actually decide. Both should be there.
6. Sort reviews by body, not by date
A review that says “I am 165 cm, ordered a S, fits well” is worth ten that say “love it”. Ask for height and size in the review form and let shoppers filter by them. The reviews you already have become a fit guide.
7. Show the garment from the back
The seat of trousers, the drape of a dress, the length of a jacket from behind. Fit surprises live there, and a page with only front photos leaves them for the unboxing. If you cannot shoot backs for every product, a try-on that renders the back for the shopper covers the gap.
8. Make the photo do less
Lifestyle photography sells a mood; it often hides the garment. Keep one clean, front-lit shot on a plain background as the first image, so the shopper can see the cut, the length and the fabric before the story. The lifestyle image can be second.
9. Answer the fabric question in a line
Weight, stretch, lining, sheerness. “Mid-weight, no stretch, fully lined” next to the price prevents the return that says “thinner than expected”, which is a fit return in disguise.
10. Measure what changed
Change one thing at a time on a small set of products and watch conversion and return rate together. Conversion alone lies: a countdown timer lifts it and raises returns. Garu’s dashboard shows which products get tried on, the sizes recommended, and what shoppers did next, so you can see the effect of a change on the product it was made to.
Three changes that look important and are not
- Countdown timers and stock warnings. They push an unsure shopper into ordering two sizes. The order counts; so does the return.
- Generic trust badges. Secure checkout and free returns are expected. They do not answer any question the shopper has about the garment.
- More lifestyle photos. Past two, they add load time and hide the product. The doubt is about the body in the garment, not the beach behind it.
If you make one change, make it the one at the top. It is the only item on the list that answers the shopper’s actual question, and the size that comes with it is the only one that changes the returns line.
Questions merchants ask
What is a good conversion rate for a Shopify clothing store?
It varies by traffic source and price point, so compare your own products against each other rather than against a benchmark. The useful number is how much conversion changes on a product when you remove a specific doubt.
Do countdown timers work on fashion product pages?
They can lift a first order and they raise returns, because they push a shopper who was unsure about fit into buying two sizes. On apparel, resolving the doubt outperforms pressuring through it.
What should a size guide on a product page include?
Garment measurements per size, not only body measurements. The model’s height and the size they wear. A fit note that says where the garment sits and what to do if between sizes. And ideally a recommendation, so the shopper does not have to read any of it.